Directory Setup
Accessing the Directory
Two things need to be true for a parent to access the directory:
- The directory must be enabled
- The parent must be granted access to the directory
See the Enabling the Directory and Granting Access to the Directory sections below.
Enabling the Directory
The online directory is off by default. To enable the online directory:
- In the Admin, navigate to Account Settings > First Step > Directory
- Check the Publish directory option in the Advanced section
- Click the Update button

Granting Access to the Directory
Parents will not have access to the directory until access is granted.
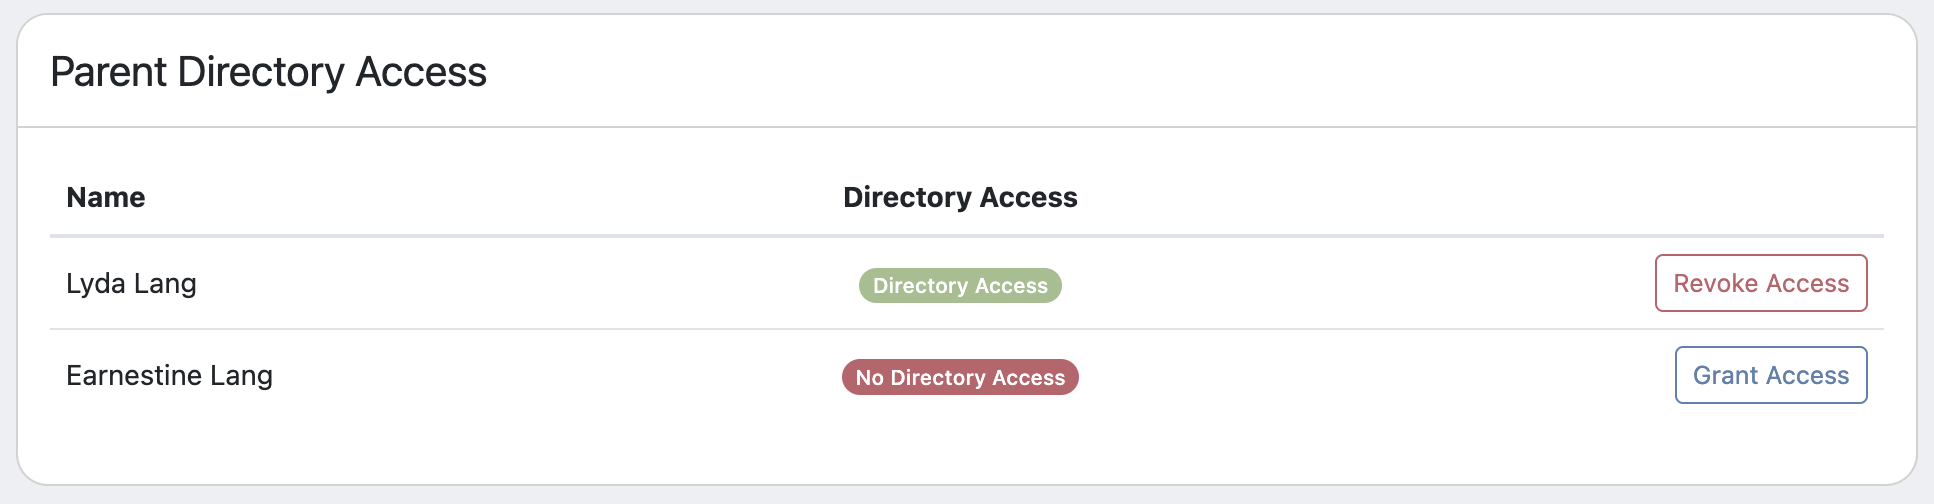
Grant/Revoke Access by Parent
Parents’ access can be individually managed by:
- In the Admin, navigate to Account Settings > First Step > Directory > Directory Entry and Access
- Click View next to the student
- Click Grant Access or Revoke Access for each parent
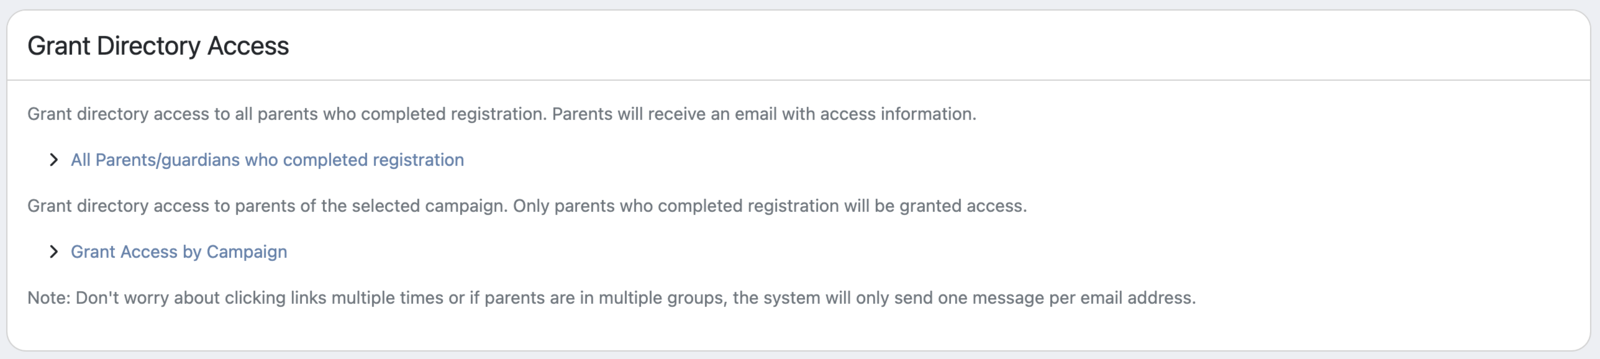
Grant Access in Bulk
Parents can be granted access by selecting:
- All Parents Option: This will grant access to all registered parents. Parents in progress will not be granted access.
- By Campaign Option: This option will grant access to registered parents who purchased the specified campaign. For donations, a zero dollar amount will be included in this operation.
To grant access:
- In the Admin, navigate to Account Settings > First Step > Directory
- In the Grant Directory Access section, select the option to invite parents
Notifications
Parents will receive an email when access is granted, either individually or in bulk. Parents will not be invited twice. You can safely click the bulk links multiple times without filling their inboxes.
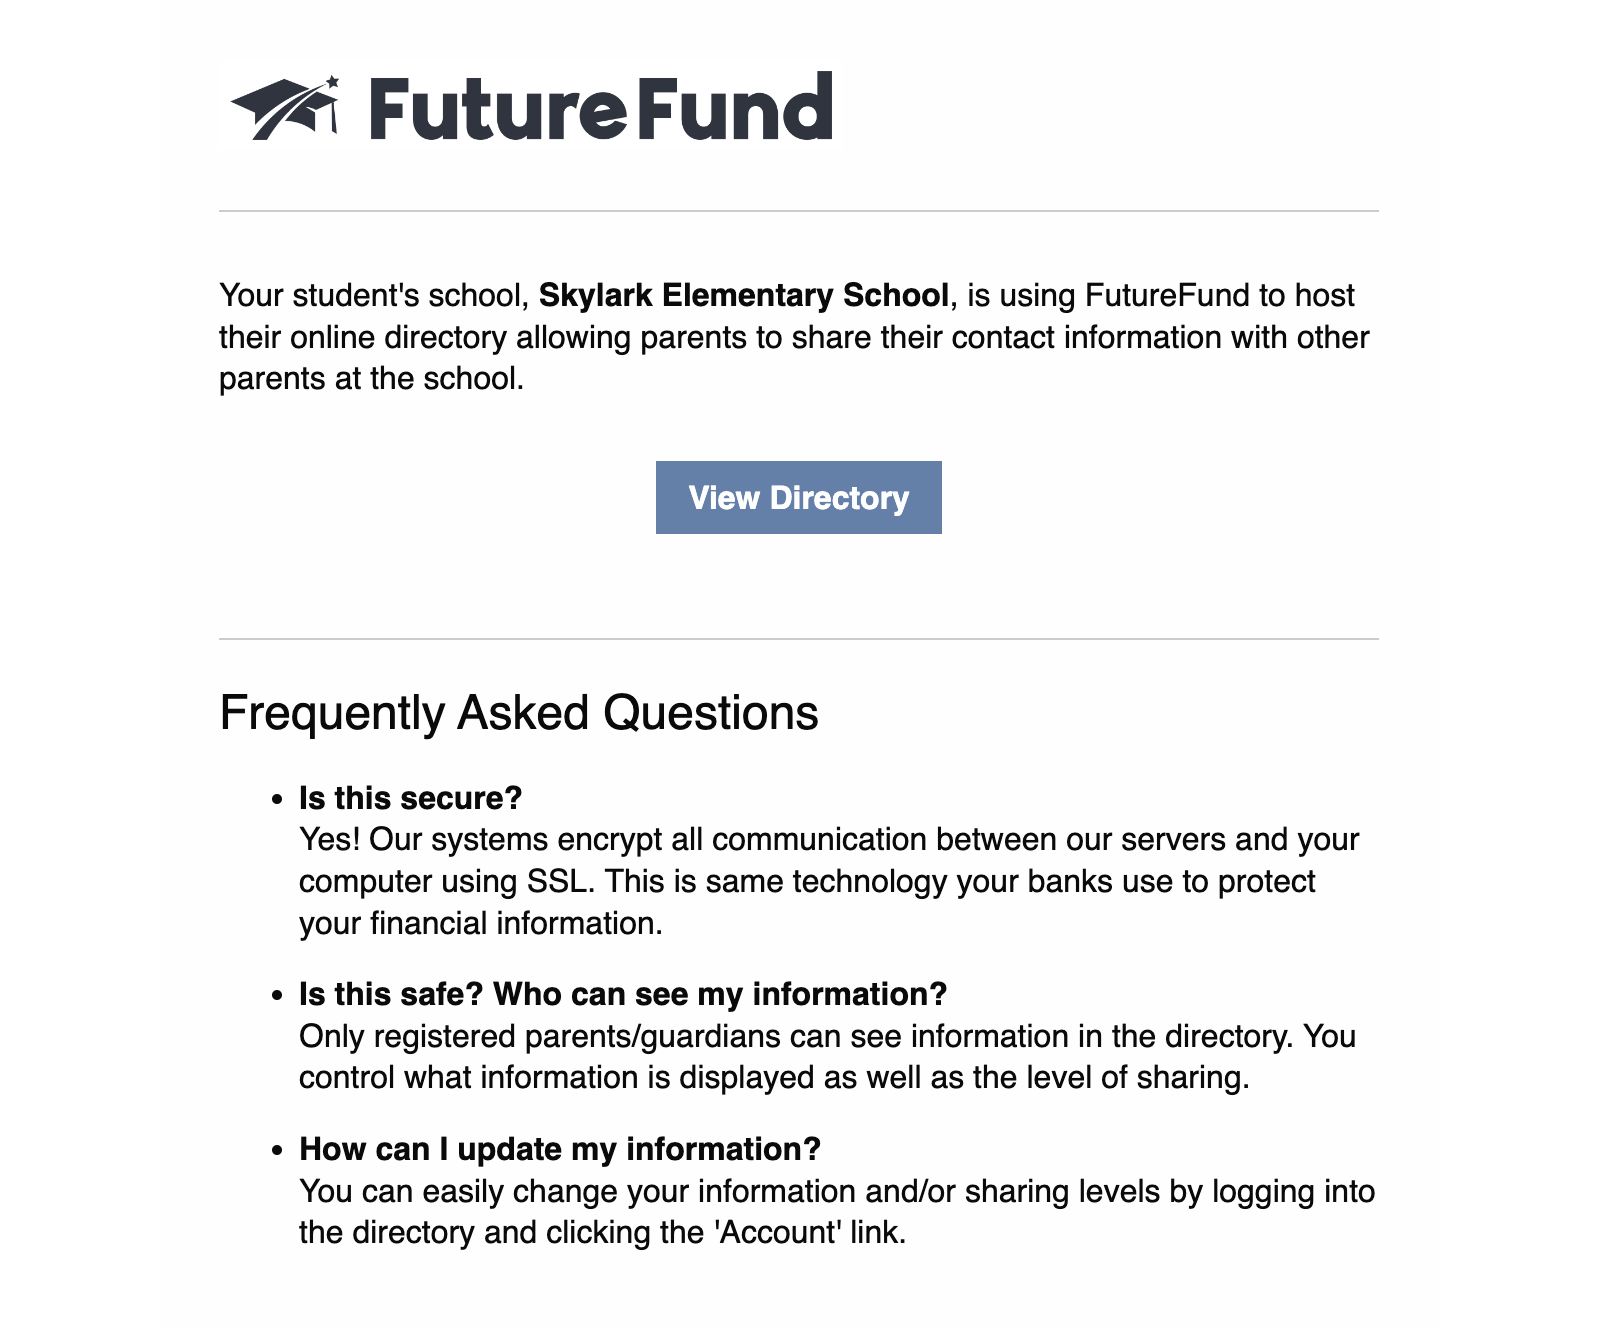
Parents can view the directory by visiting the directory site https://YOUR_SITE.futurefund.com/directory on mobile and desktop devices.
Testing
You can test the directory by granting access to yourself.
Adding Directory Page to First Step
Add the directory page to First Step:
- In the Admin, navigate to First Step > Setup
- Click the Add Page button
- Enter the name for the page
- Select Directory as the page type
The directory page can only be added once in the First Step and must come after the Sign Up page.
Promoting in Print
A QR Code is provided to promote the directory in print materials. It can be added to mailers, flyers, and posters.
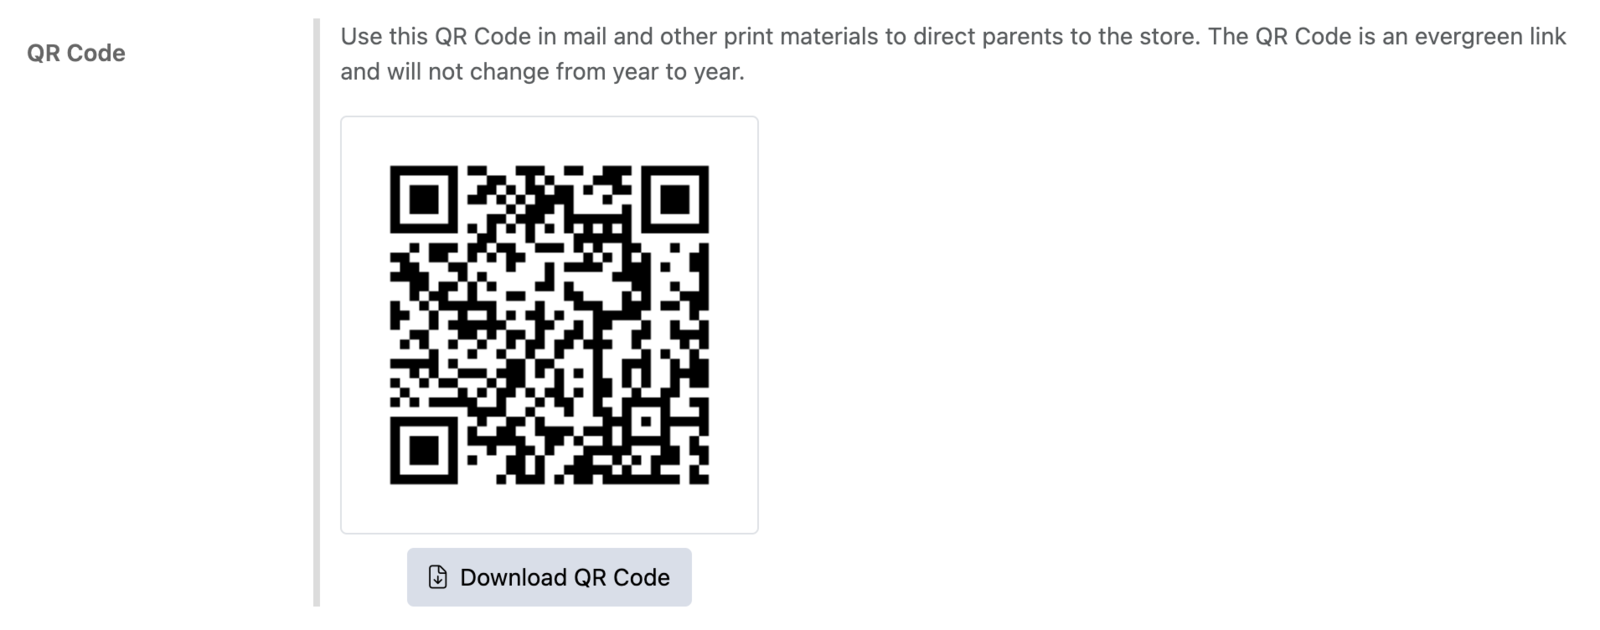
To download the QR Code:
- In the Admin, navigate to Account Settings > First Step > Directory.
- Scroll down to the Advanced Settings section.
- Click the Download QR Code button.
Was this helpful?