Store Configuration
Accessing the Online Store
Parents can access the store by visiting https://YOUR_SITE.futurefund.com/store on mobile and desktop devices.
By default, your site’s plain web address (https://YOUR_SITE.futurefund.com) also leads to the store. You can change that in Choosing Your Landing Page below.
Configuring the Online Store
The store is configured in the Advanced Settings section in Online Store.
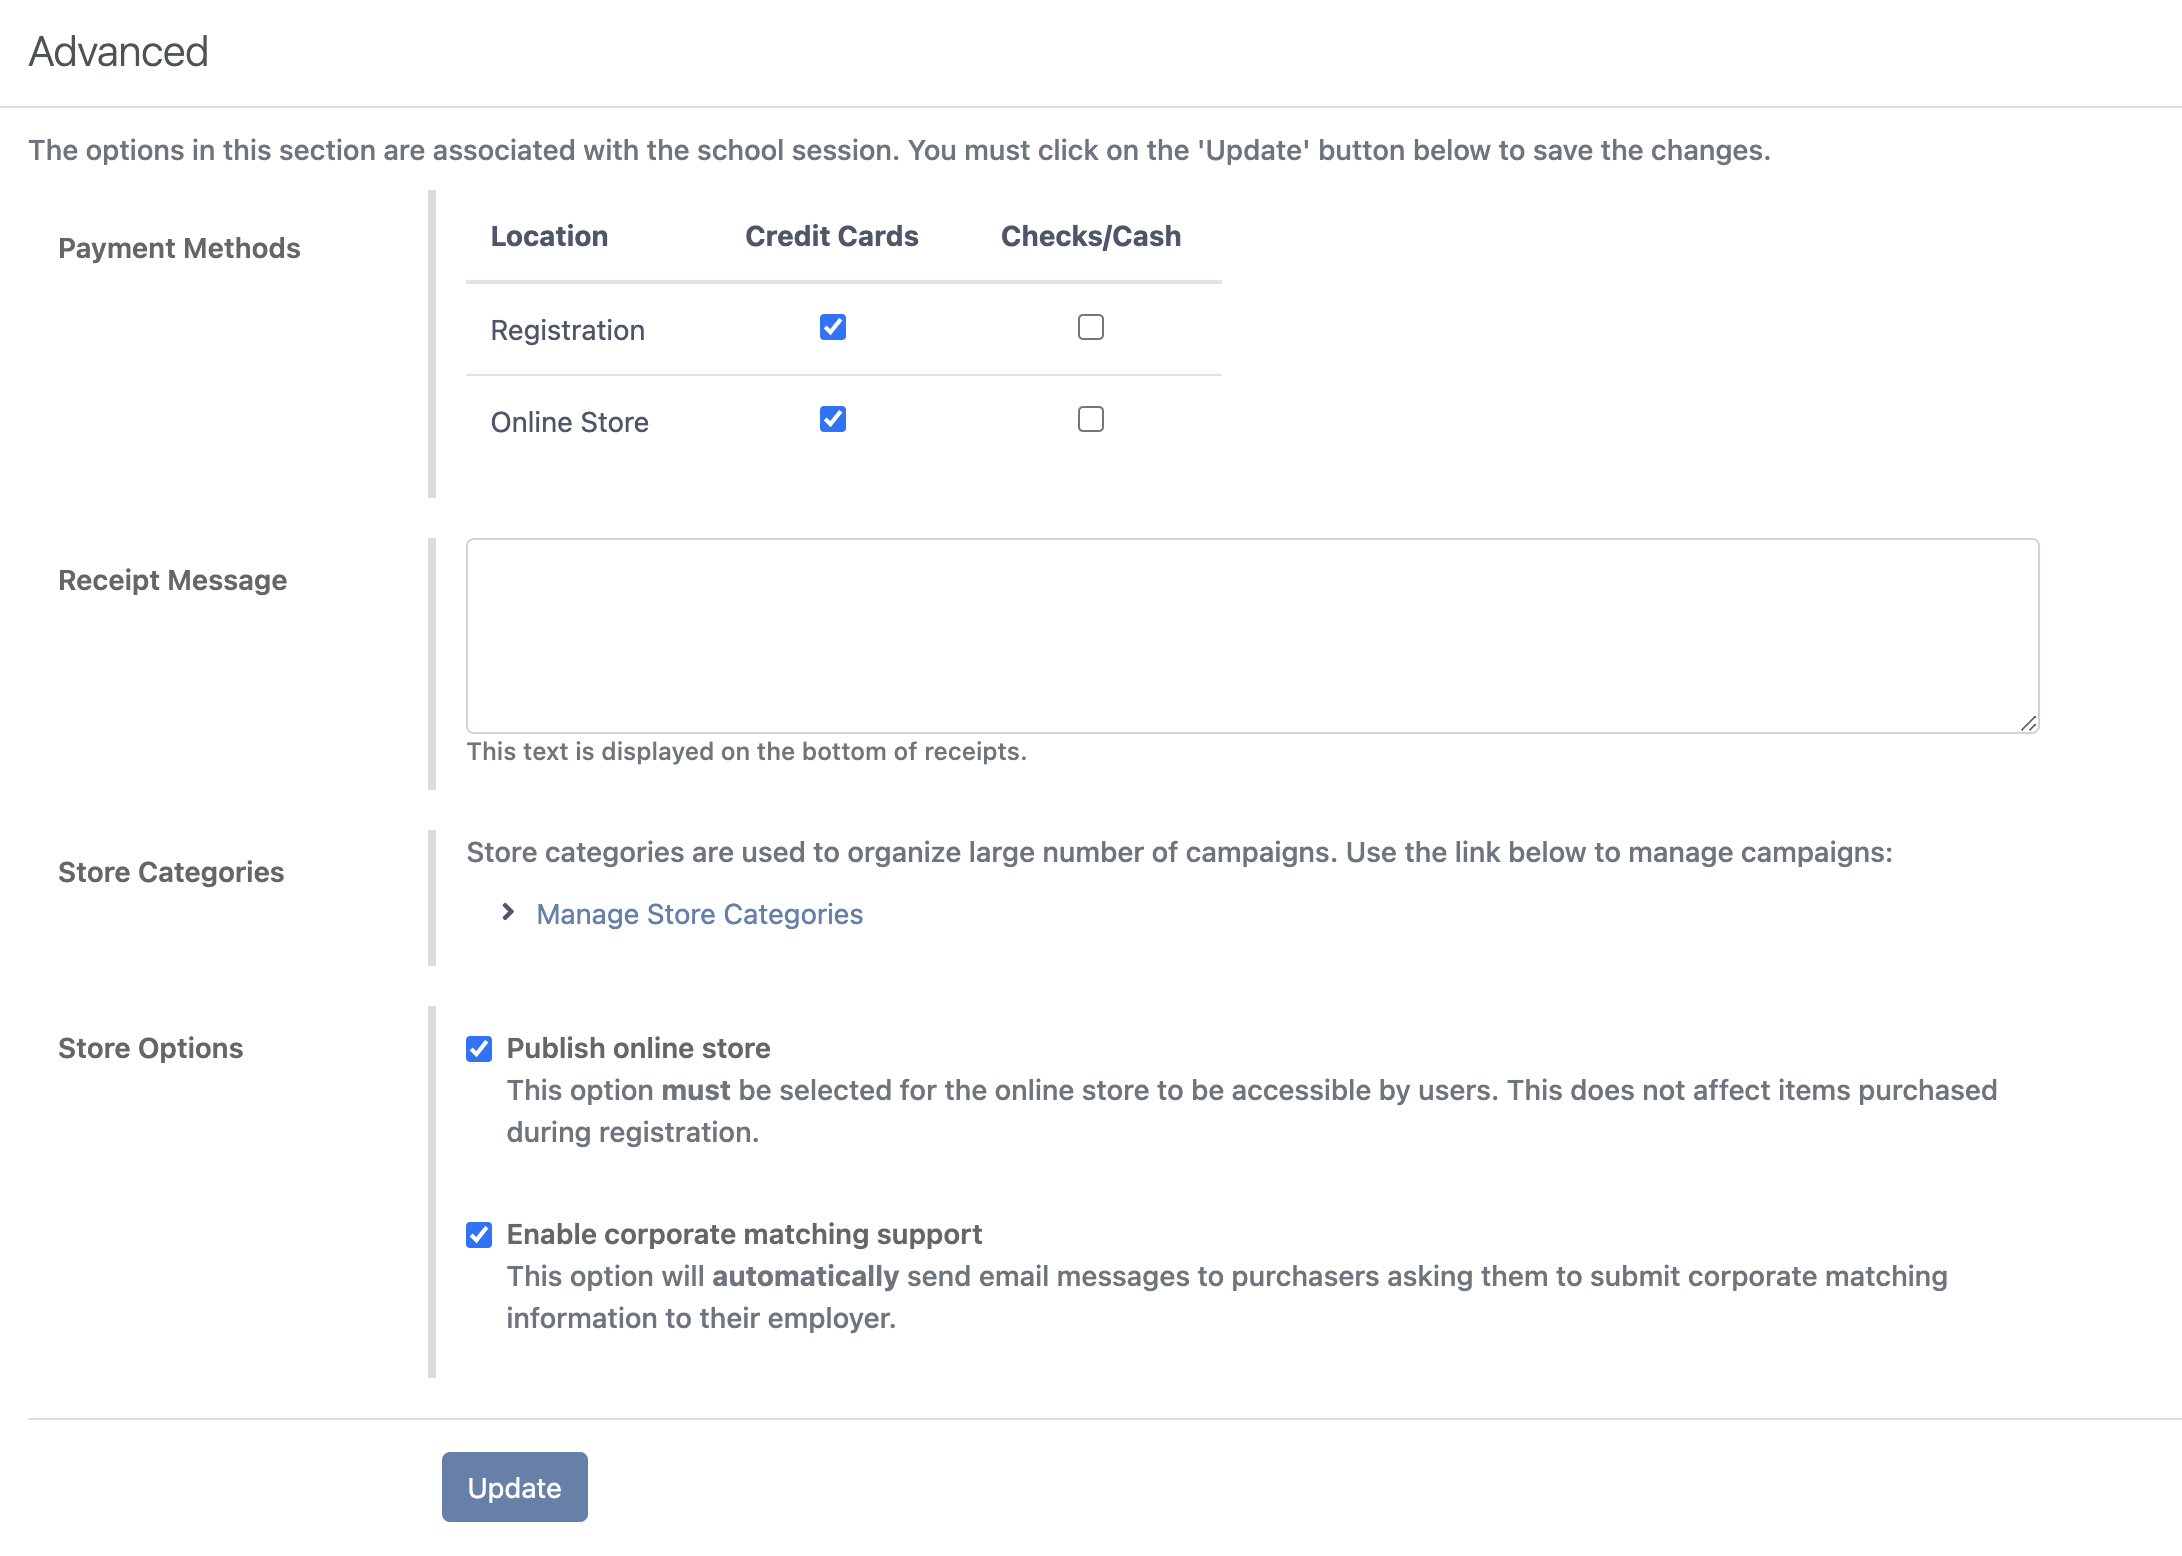
Payment Methods
FutureFund supports the following payment types:
- Credit Card (Mastercard, Visa, American Express, Discover, JCB, Diners)
- Checks/Cash (Offline payment sent to the school)
Sites can select which payment type is supported when payments are made during First Step or in the store by selecting the appropriate checkboxes.
See Offline Payments for information on the managing offline payments.
Receipt Message
The receipts allow appending a custom message to the bottom of each receipt by entering text in the Receipt Message text box.

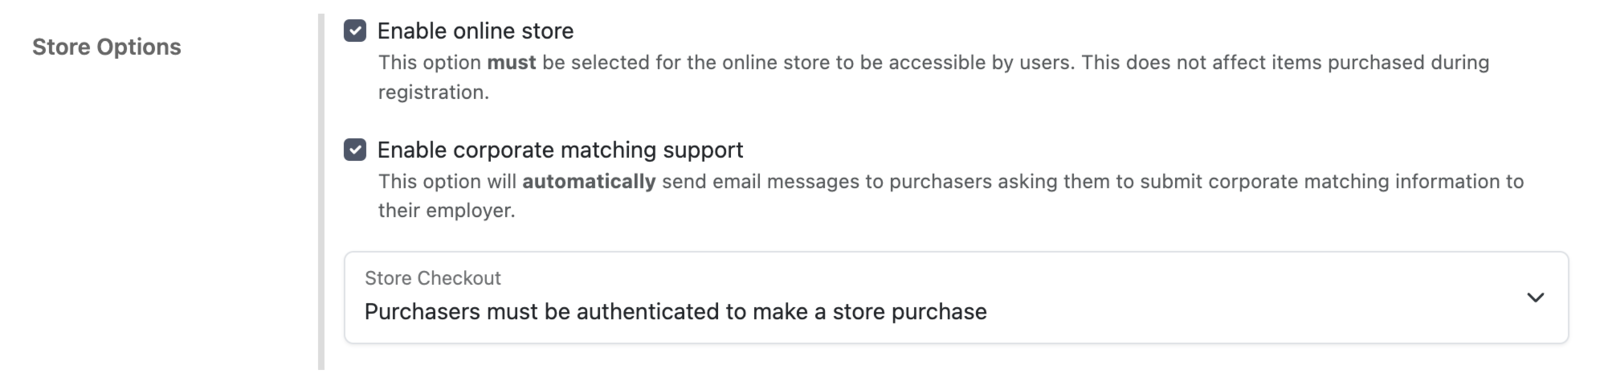
Enabling and Disabling the Online Store
The store is disabled by default and needs to be enabled before it is made available. To enable or disable the store:
- In the Admin, navigate to Online Store.
- Scroll down to the Advanced Settings section.
- Toggle the Enable online store checkbox to enable or disable the store.
Choosing Your Landing Page
By default, families who visit your plain web address land in the Online Store. If you’d rather they land somewhere else, go to Admin > Account Settings > Website and set the Landing Page to Online Store, First Step, or Events.
This is a per-school-year setting, so it can change from one year to the next. And it’s safe to set and forget: if you ever turn off the destination you chose (for example, First Step closes or the Events calendar gets switched off), families are automatically sent to the Store instead.
Promoting in Print
A QR Code is provided to promote the store in print materials. It can be added to mailers, flyers, and posters.
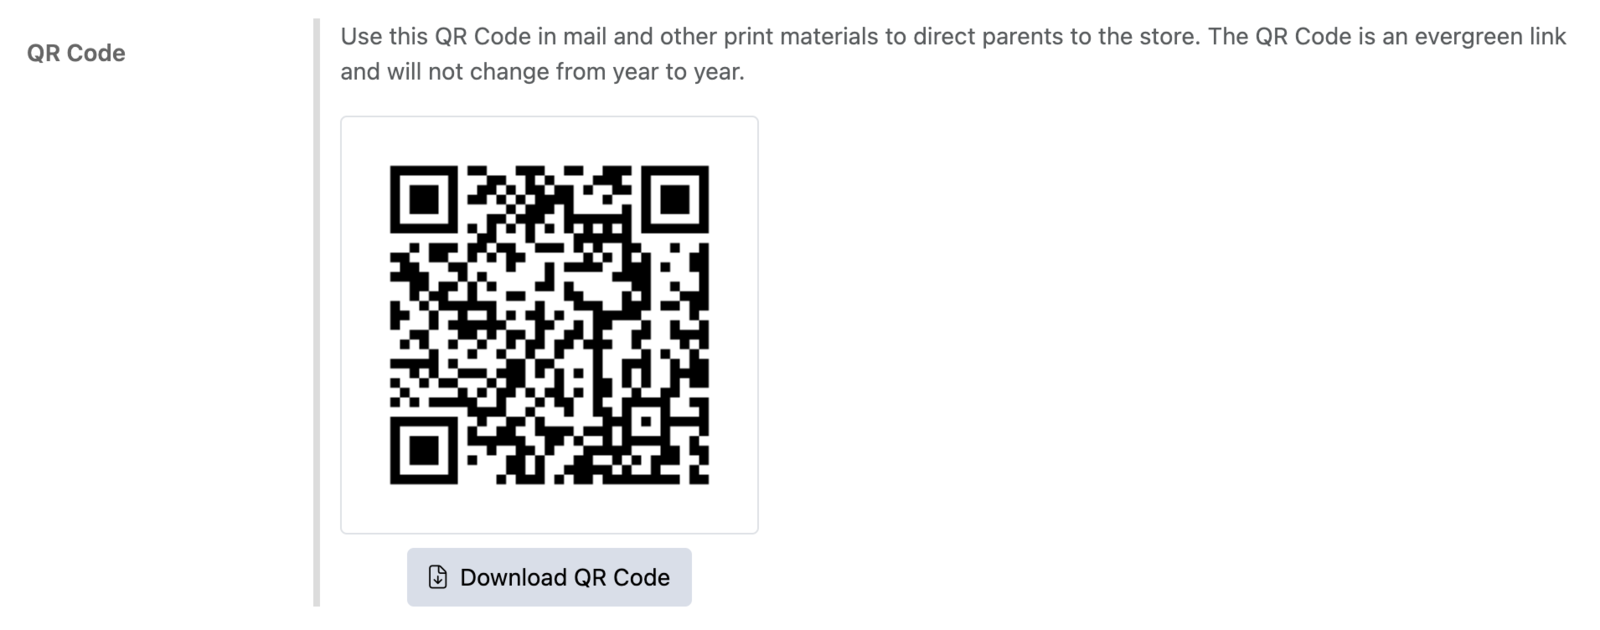
To view the QR Code:
- In the Admin, navigate to Online Store.
- Scroll down to the Advanced Settings section.
- To download the QR Code, right click on the image and select “Save image as…”
Was this helpful?