Students
Searching
Students can quickly be found using the search box on the students page (Admin > First Step > Students). Search supports the following:
| Search Term | Type | Example |
|---|---|---|
| Student Name | Fuzzy | John Smith John Smith |
| Parent Name | Fuzzy | John Smith John Smith |
| Parent Email | Fuzzy | jsmith@example.com |
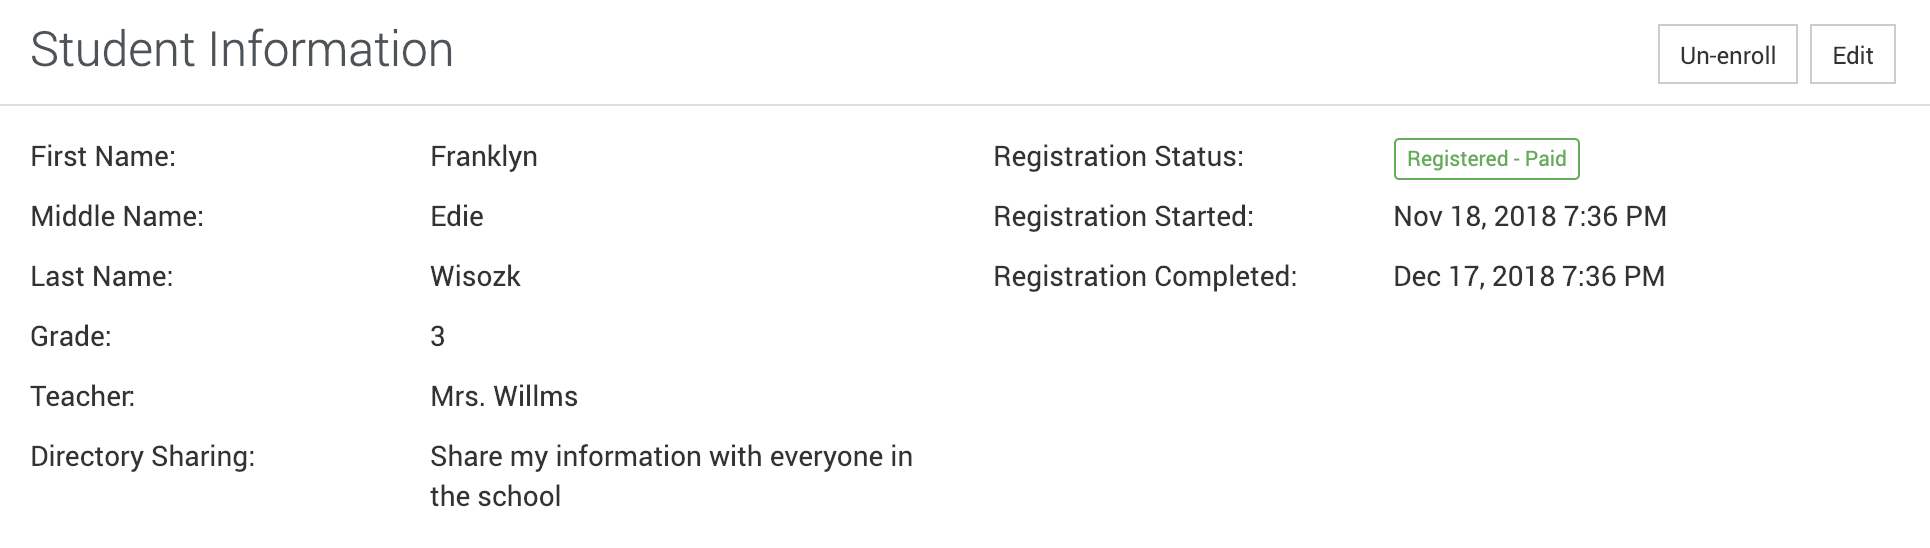
First Step Status
Students have a First Step status which is based on completion of First Step and monies owed.
- In Progress: The parent started First Step and did not complete First Step.
- Registered - Paid: The parent completed First Step for the student and paid any monies owed. This status will be applied if nothing was purchased and does not account for installment plans.
- Registered - Not Paid: The parent completed First Step for the student and has a balance on their purchase. This does not account for installment plans.
- Un-enrolled: The student is un-enrolled from the school session.
Manually Adding a Student
We recommend students are added by the parents during First Step. There are cases when an administrator will need to manually add a student.
- In the Admin, navigate to First Step > Students.
- Click the Add Student button.
- Complete the form and click the Add Student button.
At this point the student is registered. Optionally, the parents can be added to the First Step as well. FutureFund supports up to four parents per student. This is done on the student detail page.

Un-enrolling a Student (Removing a Student)
In FutureFund, we support un-enrolling a student which will effectively remove the student from the system.
- In the Admin, navigate to First Step > Students.
- Find the student and click the View button.
- When viewing the Student detail page, click the Un-enroll button.
- The confirmation dialog will provide options to remove aspects of the First Step:
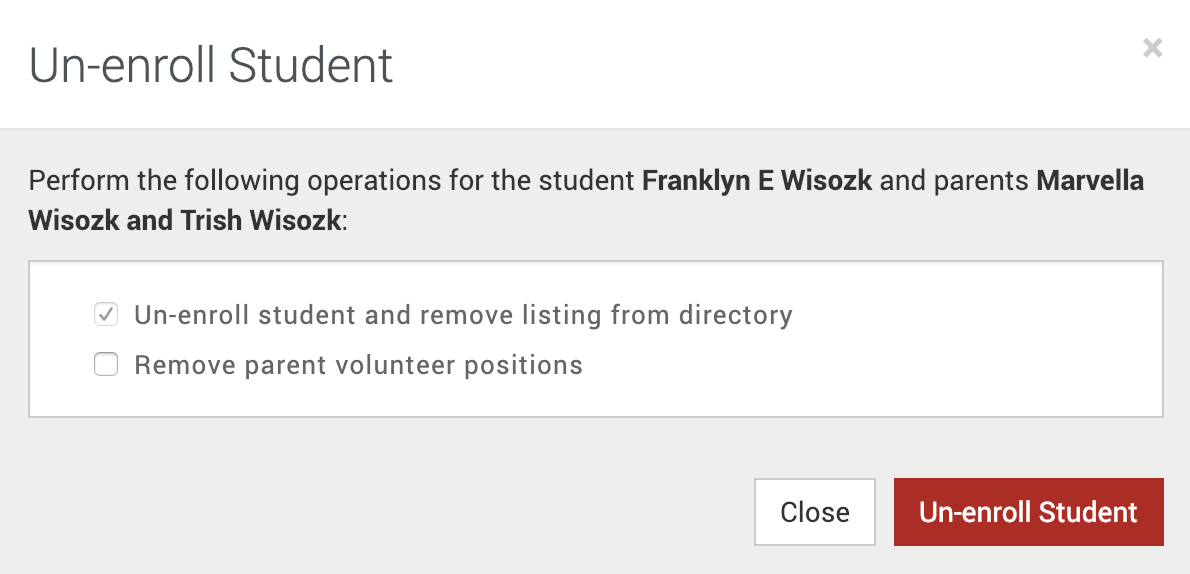
Please note the following when un-enrolling a student:
- Orders will not be automatically refunded. An administrator will need to manually refund purchases.
- The enrollment is a non-destructive change, however, removing other aspects of First Step, such as volunteering, is destructive.
Export
Students and parents can be exported in the following formats by clicking on the Export Data link on the bottom of the page:
- CSV File
Was this helpful?