Store Configuration
Accessing the Online Store
Parents can access the store by visiting https://YOUR_SITE.futurefund.com/store on mobile and desktop devices.
By default, your site’s plain web address (https://YOUR_SITE.futurefund.com) also leads to the store. You can change that in Choosing Your Landing Page below.
Configuring the Online Store
Store settings live on the Store Settings page:
- In the Admin, click Account Settings.
- Under Payments, click Online Store.
The page has:
- Enable online store at the top
- Advanced settings, a link you click to open more options: offline payments, corporate matching, the receipt message, your statement descriptor, and platform fees
- Appearance: the store’s header image and welcome message
Click Save after making changes.
Payment Methods
FutureFund supports the following payment types:
- Credit Card (Mastercard, Visa, American Express, Discover, JCB, Diners)
- Checks/Cash (Offline payment sent to the school)
To let purchasers pay by cash or check, open Advanced settings and check Allow offline payments. Purchasers can then choose cash or check at checkout when both of these are true:
- The order is $100 or more.
- The order has no event tickets in it.
Orders with tickets are paid by card at checkout, whatever the total. To take a check for tickets, build the order in the Admin instead:
- Navigate to Orders & Payouts and click Build Order. Enter the purchaser’s name and email.
- Click Add Product to Cart, pick the ticket campaign, then choose the event and ticket type. Add one line for each ticket.
- Click Finalize Cart.
- When the check arrives, click Mark Paid on the order’s payment. See Recording Offline Payments. The tickets are emailed to the purchaser once the payment is marked paid.
See Offline Payments for information on the managing offline payments.
Receipt Message
The receipts allow appending a custom message to the bottom of each receipt. Open Advanced settings and enter text in the Receipt message box.

Enabling and Disabling the Online Store
The store is disabled by default and needs to be enabled before it is made available. To enable or disable the store:
- In the Admin, click Account Settings.
- Under Payments, click Online Store.
- Check or uncheck Enable online store at the top of the page.
- Click Save.
This does not affect items purchased during First Step. The Online Store page in the Admin shows an Open or Closed badge so you can see the store’s status at a glance.
Choosing Your Landing Page
By default, families who visit your plain web address land in the Online Store. If you’d rather they land somewhere else, go to Admin > Account Settings > Website and set the Landing Page to Online Store, First Step, or Events.
This is a per-school-year setting, so it can change from one year to the next. And it’s safe to set and forget: if you ever turn off the destination you chose (for example, First Step closes or the Events calendar gets switched off), families are automatically sent to the Store instead.
Changing the Order of Your Store
Want your most popular campaigns at the top? You can drag them into the order you like.
- In the Admin, click Online Store in the sidebar.
- Click the Categories tab.
- In the Store Categories card, find the Storefront row. This is the main page families see when they open your store. Click Sort at the end of that row.
- A Sort Campaigns window opens. Use the drag handles to move the campaigns into the order you want.
Each category in the list also has its own Sort button. Use it to set the order of campaigns inside just that category.
You’ll only see Sort if you have permission to edit your store.
Promoting in Print
A QR Code is provided to promote the store in print materials. It can be added to mailers, flyers, and posters. The QR Code does not change from year to year.
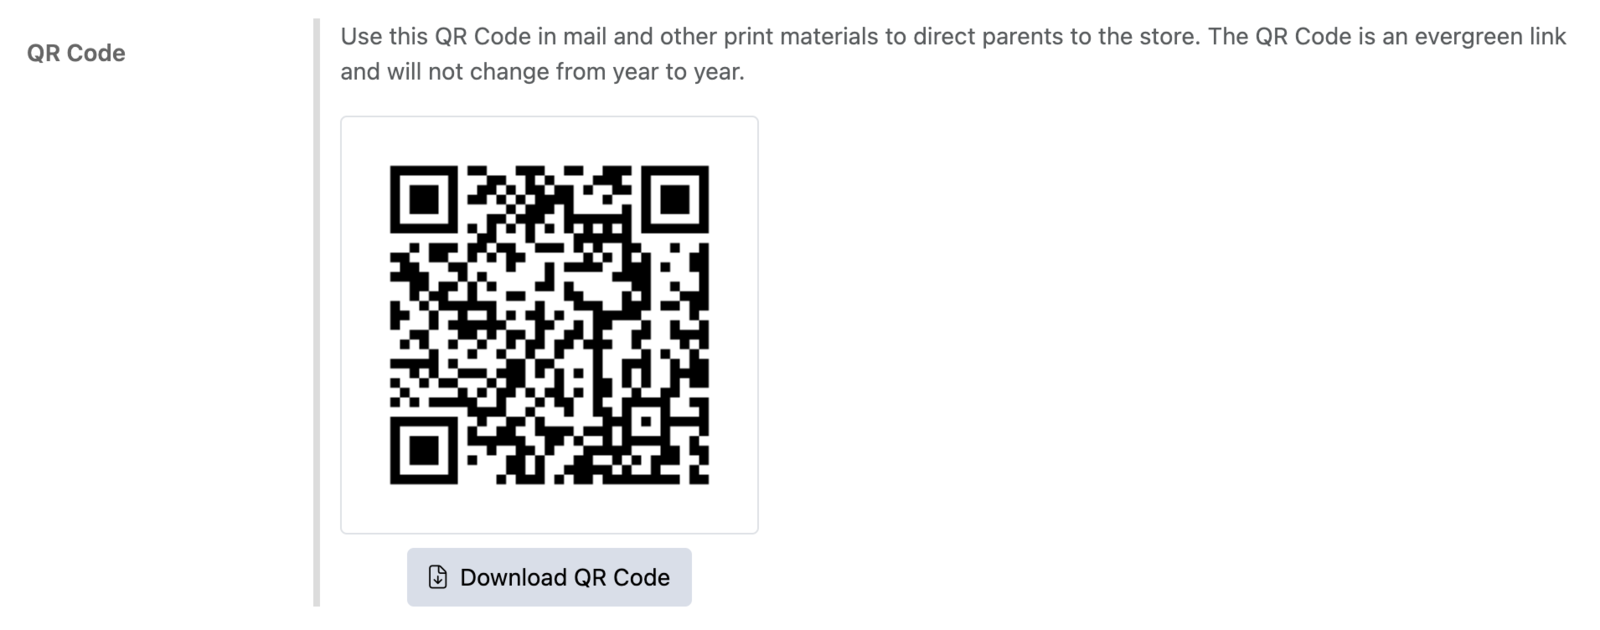
To get the QR Code:
- In the Admin, click Online Store in the sidebar.
- Find the Sharing panel. It also shows your store’s web address, ready to copy.
- Click Download under the QR Code.
Was this helpful?